Sharing your Outlook Calendar
Sharing your Outlook Calendar
Use the following steps to share your calendar:
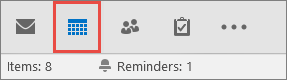
Click Calendar.
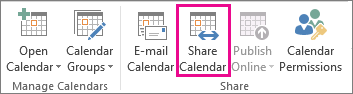
Click Home > Share Calendar.
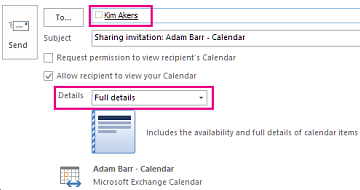
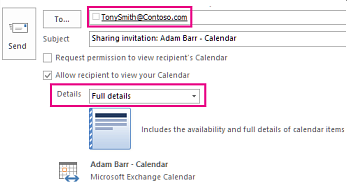
In the email that opens, type the name of the person in your organization that you want to share your calendar with in the To box. In Details, specify the level of details that you want to share with the person in your organization, and then click Send.
The person in your organization receives the sharing invitation in email, and then clicks Open this calendar.
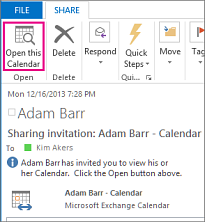
The shared calendar displays in the person’s Calendar list.
Share your calendar with people outside your organization
Click Calendar.
Click Home > Share Calendar.
In the email that opens, type the email address for the person outside of your organization that you want to share your calendar with in the To box. In Details, specify the level of details that you want to share with the person outside of your organization, and then click Send.
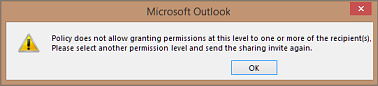
If the following error displays when you try to send your sharing invitation, you have tried to share more details than is supported by the settings in your organization. If this occurs, under Details, choose to share a different level of details. Only an admin in your organization can change the sharing policy settings for your organization. For more information, see the end of this section.
The person in your organization receives the sharing invitation in email, and then clicks Open this calendar.
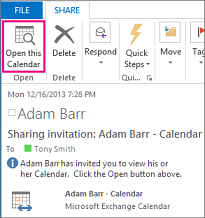
The shared calendar displays in the person’s Calendar list.
If you receive an error when you try to share more details that are supported by the sharing policy settings in your organization, contact the person that manages your email account.
At any time you can revoke access to your calendar. Note that it may take a while for Office 365 and the user's Outlook to sync and remove the view to your calendar.
Click Calendar.
Click Home > Calendar Permissions.
On the Permissions tab, click the user's name and then choose Remove.
Click OK.
Related Articles
Outlook Calendar Permissions
Outlook Calendar Permissions When you initially share your calendar with people, you're only granting them permission to view the calendar. You can choose what level of detail you want them to view: Availability only. They can only see which times ...How to Make an Email Rule in Outlook
1. Click the File tab in the navigation ribbon. 2. Click Manage Rules & Alerts 3.Click New Rule on the E-mail Rules tab in the Rules and Alerts dialog box. 4. Proceed to Step 1: Select a template. 5. Choose a template from either the Stay Organized ...Installing Outlook on Your Mobile Device
Please click on the link below to follow the guide: https://support.office.com/en-us/article/install-office-on-your-mobile-device-db4058a1-09ca-4d56-85ea-1f58f073728b Then sign in with your Access email and computer password.Forwarding Your Emails to Another Address
Got to the Outlook website (http://outlook.office.com/ or http://mail.accessptw.com/). Select the Settings gear icon (⚙) in the Outlook web toolbar on the top right. Select View all Outlook settings on the bottom of the pop out pane. In ...How to Access your Email From a Web Browser (Example - Chrome or Edge)
1. Go to mail.accessptw.com 2. In the Email or Phone box put in your Access email (example@accessptw.com) 3. Click Next 4. Type in your email/computer password 5. Click Sign In